Sample board or Rendering
 When working with a client we will meet in person multiple times to bring drawings and plans of a space and also material finish samples for what will go in the space: carpets, ceramic tiles, paint chips, grout colors, fabric swatches, wood samples, laminate chips, the list goes on and on. I like to bring loose samples, sometimes with pictures of how a large piece will look in a space, especially with carpet. But at some point the we go from making decisions to giving a sense of what the final product will be. With drawings the final product is still represented in a drawing, either printed, digital or both. But with materials there’s a choice: Sample (or presentation) board or Renderings. (Or both, but that’s a rarity in our office)
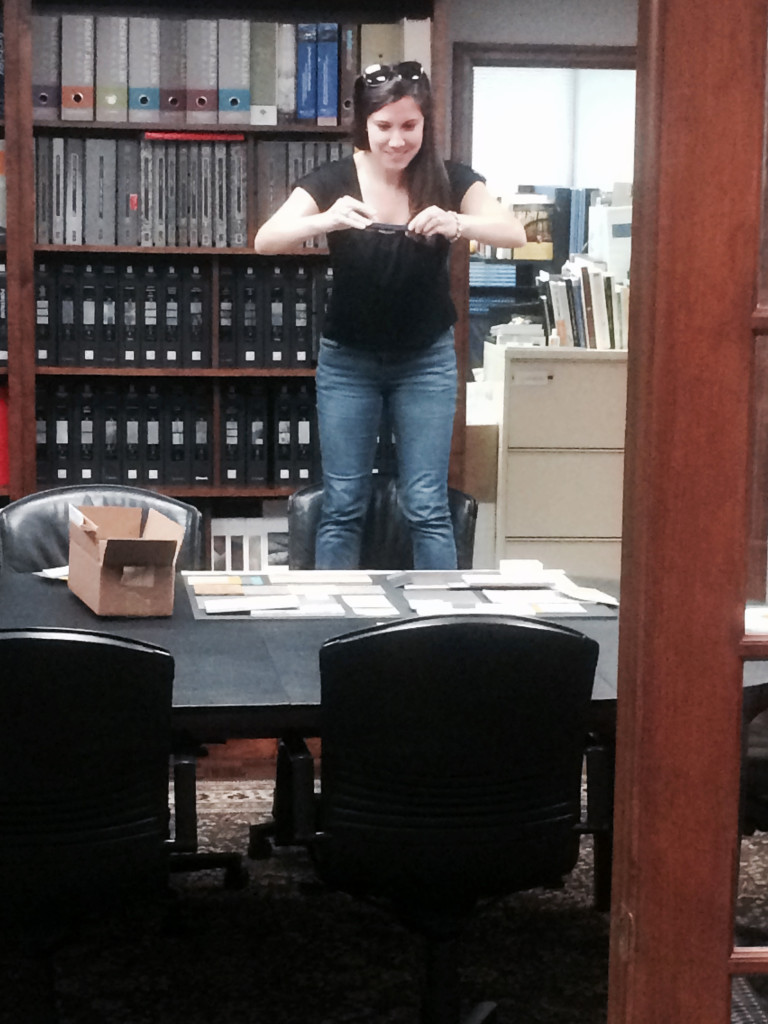
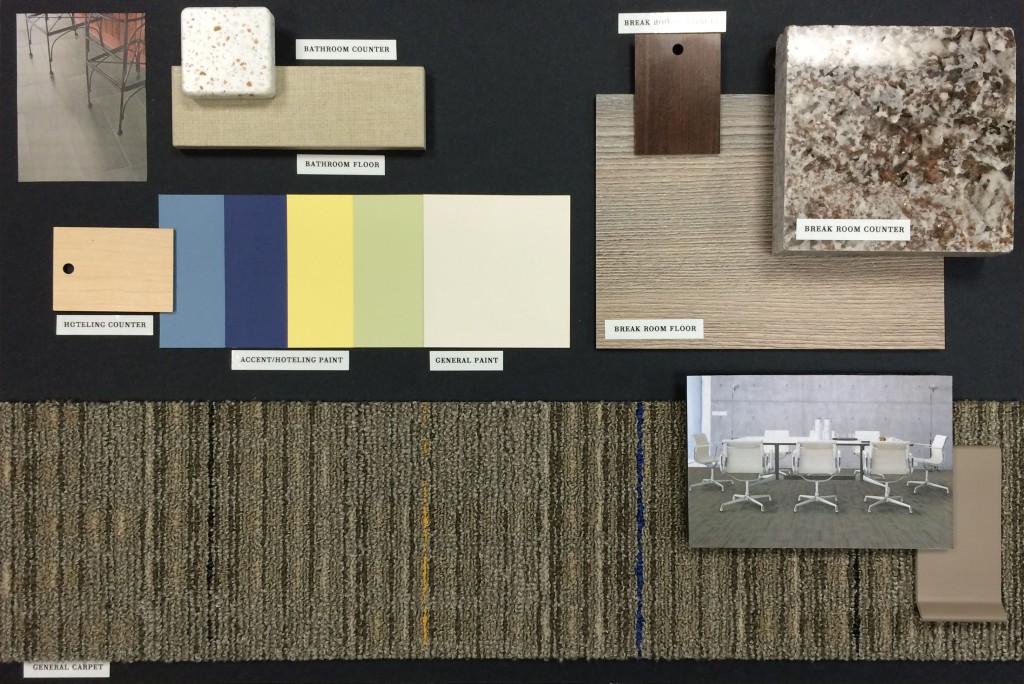 A sample board is a foam core board with actual physical samples used in the space tacked to it. Many clients use these in combination with drawings for showing final selections of Board members or teammates who weren’t involved in our meetings and to give other stakeholders an idea of what is coming soon. This post was inspired by my colleague snapping a picture with his phone of me standing on a chair to take a picture of a presentation board before giving it to the client.
On the plus side here, you have the actual sample of the materials to know how they will feel and the exact color that they are for the space. It’s also a little less time consuming so it can be done more quickly. On the down side, while we often label what materials will be located where, it may be hard to visualize how the space will look for some people. There’s usually only one copy as well. This is a good solution for more simple work and small spaces where 3D images are hard to create effectively.
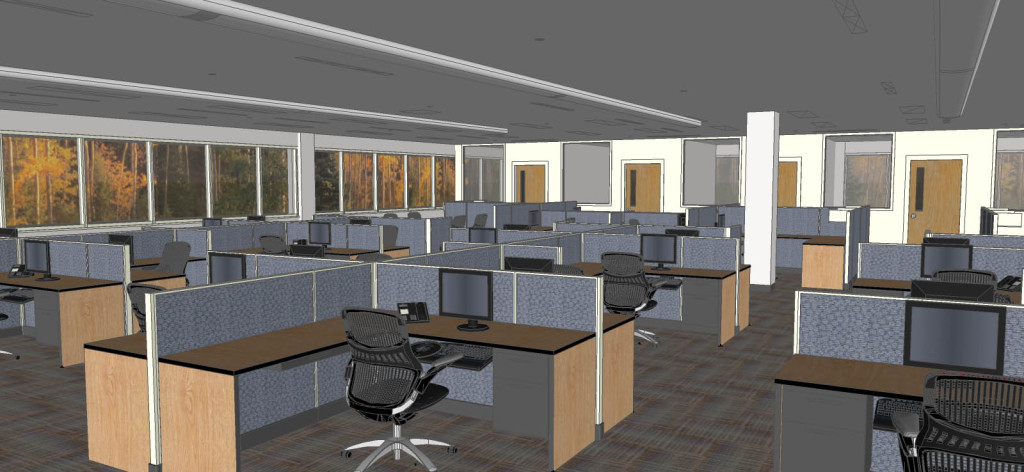 Renderings are the other option. Instead of mounting all the materials on a physical board of materials, the selected finishes are grafted into the space in a drawing. This can be done on a plan, an elevation of a wall, or a 3D drawing for the space. Before computer rendering this would be done by hand. Now it’s more often done in programs like SketchUp, 3DMax or Photoshop. With these programs digital images of materials can be uploaded and fit into their locations at the proper size. Shadows and light can be added with algorithms that will correctly interpret how light will bounce off different material types and reflect in the space. The result is a very strong impression of what the final space will look like. This is a great option for large projects, clients who have trouble with visualization, or who are spread out over large distances, since computer files can easily be shared.
The down sides are that these are generally more time consuming and therefore more costly to produce and the color may not be perfectly correct for what will be the final space, depending on printer, monitor, and other color corrections.
If you are the recipient of one of these tools, there’s a few things to keep in mind. First, this is a step that’s best taken when most decisions have been made or are very close to be final. Redrawing takes time and rendering multiple times is also time consuming. On the flip side, these tools are a snapshot in time and you still can make changes after they are delivered. Treat them like a final check that this is indeed what you want. Finally, enjoy your tool. These are definitely one of the fun take aways from working with design professionals.
Committee Appreciation
Our office works with a lot of committees. It’s an amazing journey to take with a group. We’ll meet week after week and build a relationship with representatives of a community, a building, or residents and help guide them in the design process. These are not professionals in the design world or the building owner and facility operators who hired us; these are usually interested residents and end-users of the client who are providing a much needed perspective. Owners and operators have one view of maintaining a space. They are looking for solutions that are easy to maintain, economical, and functional. The folks who live and work in it day after day have a much more personal relationship with a space and that’s especially important in renovation work where that relationship already exists. Especially in terms of function because the committee members know what is and is not working. They use the space everyday! So when our committee tells us putting mailboxes on X corridor is inconvenient and they think it’ll be better located on Y corridor, you bet we listen!
The process goes something like this: First, it’s the plan stuff: What spaces are being considered for the renovation, which existing or new rooms are needed, where they should go in relationship to one another, to doors, to windows, to that noisy furnace, ect. Then arranging them all in the space and helping the committee hash out what’s most important, what will fit, and whittling the wish list into something do-able. Sometimes not everything will fit the space or the budget (like that jacuzzi, often the first thing to go!) To an extent all this is the intangible stuff that’s really most important. Then we move from the meat and potatoes to the sparkle and flash: finishes. Picking the actual flooring, wall colors, textures, furniture pieces and upholstery. This can get very intense since it’s all the stuff you see and the people who get involved in these committee sometimes have very strong opinions on how the space should look, are worried about it staying nice, and have their own experiences with similar products to prejudice them for or against certain solutions. Along the way we bring in lots and lots of visual aids: first it’s drawings and sketches in plans and 3D, and then we move to physical samples of materials, pictures of furniture and sometime we go as far and rendered (colored) 3D images showing all selections made to date.
Our recommendations at these meetings are based first on what the committees tell us they want, and second on years of experience with materials, design choices, ect. Sometimes we end up suggesting something very different than committee members think will work. Sometimes we can explain our suggestions and choices in a way where all committee members are happy. Sometimes committee members are skeptical of our solutions, or don’t agree amongst themselves. This can make for meetings that are challenging for everyone involved. Along the way we remind our committees that we have their best interest at heart. It’s our job to make sure that the space does work and perform as expected and we are as invested as they are in making choices that reach a happy conclusion. We have to show them products, bring in samples and flyers and answer questions, point out the features and why the product will work for them. It often involves both the pros and cons of a product and making a decision regarding the trade-offs. Often this requires multiple meetings for everyone to become satisfied with a proposed solution, or get proof that a different solution won’t work. It involves lots of opinions on things (like color) that are subjective and there’s no one right answer.
This is one of the social sides of what designers do. Not only do we communicate with other design and building professionals, but we communicate with the client: the end user. We have to be able to explain some of the technical parts of the industry in a way that makes sense to everyone. It can take time in a fast-paced world the time a committee can take to make decisions can seem very slow. But, this is really a rewarding process when they see that final rendering, or you meet the committee in the finished space and see the smiles. Its fantastic to have met with the users and really know you’ve delivered a space that will work the way that the client needs it to. But mostly, it’s about seeing that committee’s happy satisfaction with the job and loving it.

 When working with a client we will meet in person multiple times to bring drawings and plans of a space and also material finish samples for what will go in the space: carpets, ceramic tiles, paint chips, grout colors, fabric swatches, wood samples, laminate chips, the list goes on and on. I like to bring loose samples, sometimes with pictures of how a large piece will look in a space, especially with carpet. But at some point the we go from making decisions to giving a sense of what the final product will be. With drawings the final product is still represented in a drawing, either printed, digital or both. But with materials there’s a choice: Sample (or presentation) board or Renderings. (Or both, but that’s a rarity in our office)
 A sample board is a foam core board with actual physical samples used in the space tacked to it. Many clients use these in combination with drawings for showing final selections of Board members or teammates who weren’t involved in our meetings and to give other stakeholders an idea of what is coming soon. This post was inspired by my colleague snapping a picture with his phone of me standing on a chair to take a picture of a presentation board before giving it to the client.
 Renderings are the other option. Instead of mounting all the materials on a physical board of materials, the selected finishes are grafted into the space in a drawing. This can be done on a plan, an elevation of a wall, or a 3D drawing for the space. Before computer rendering this would be done by hand. Now it’s more often done in programs like SketchUp, 3DMax or Photoshop. With these programs digital images of materials can be uploaded and fit into their locations at the proper size. Shadows and light can be added with algorithms that will correctly interpret how light will bounce off different material types and reflect in the space. The result is a very strong impression of what the final space will look like. This is a great option for large projects, clients who have trouble with visualization, or who are spread out over large distances, since computer files can easily be shared.