
Sample board or Rendering
 When working with a client we will meet in person multiple times to bring drawings and plans of a space and also material finish samples for what will go in the space: carpets, ceramic tiles, paint chips, grout colors, fabric swatches, wood samples, laminate chips, the list goes on and on. I like to bring loose samples, sometimes with pictures of how a large piece will look in a space, especially with carpet. But at some point the we go from making decisions to giving a sense of what the final product will be. With drawings the final product is still represented in a drawing, either printed, digital or both. But with materials there’s a choice: Sample (or presentation) board or Renderings. (Or both, but that’s a rarity in our office)
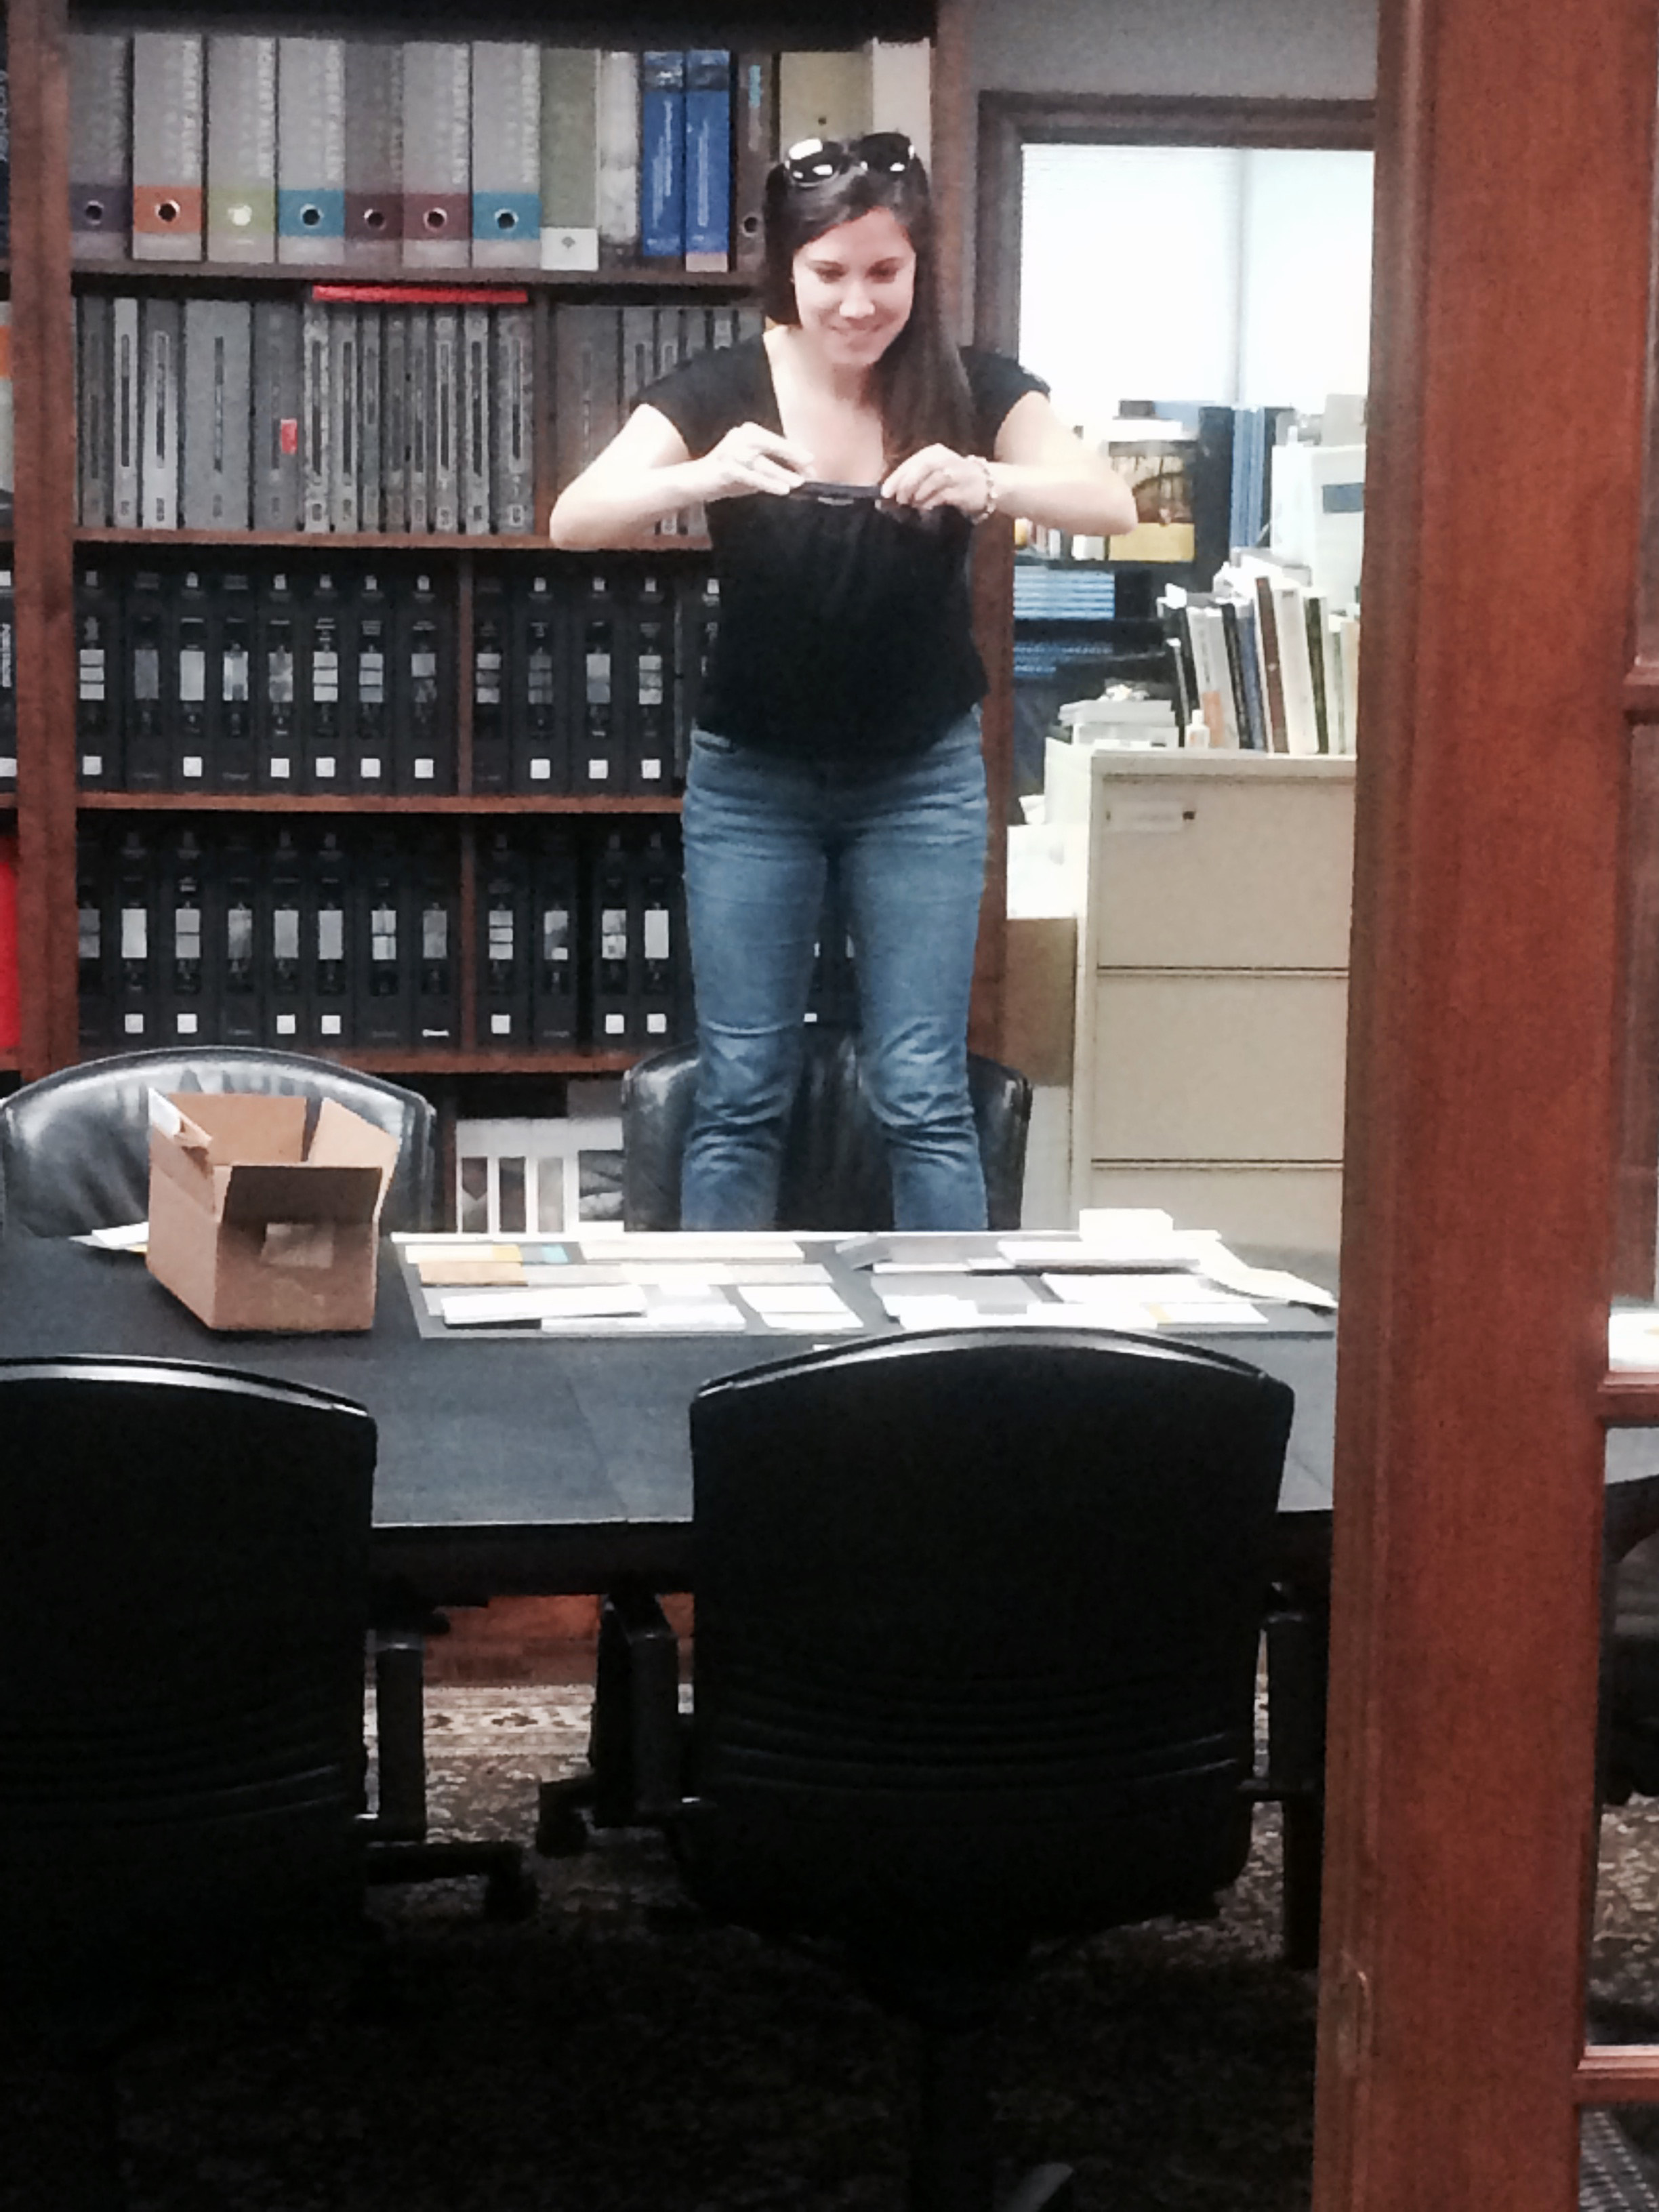
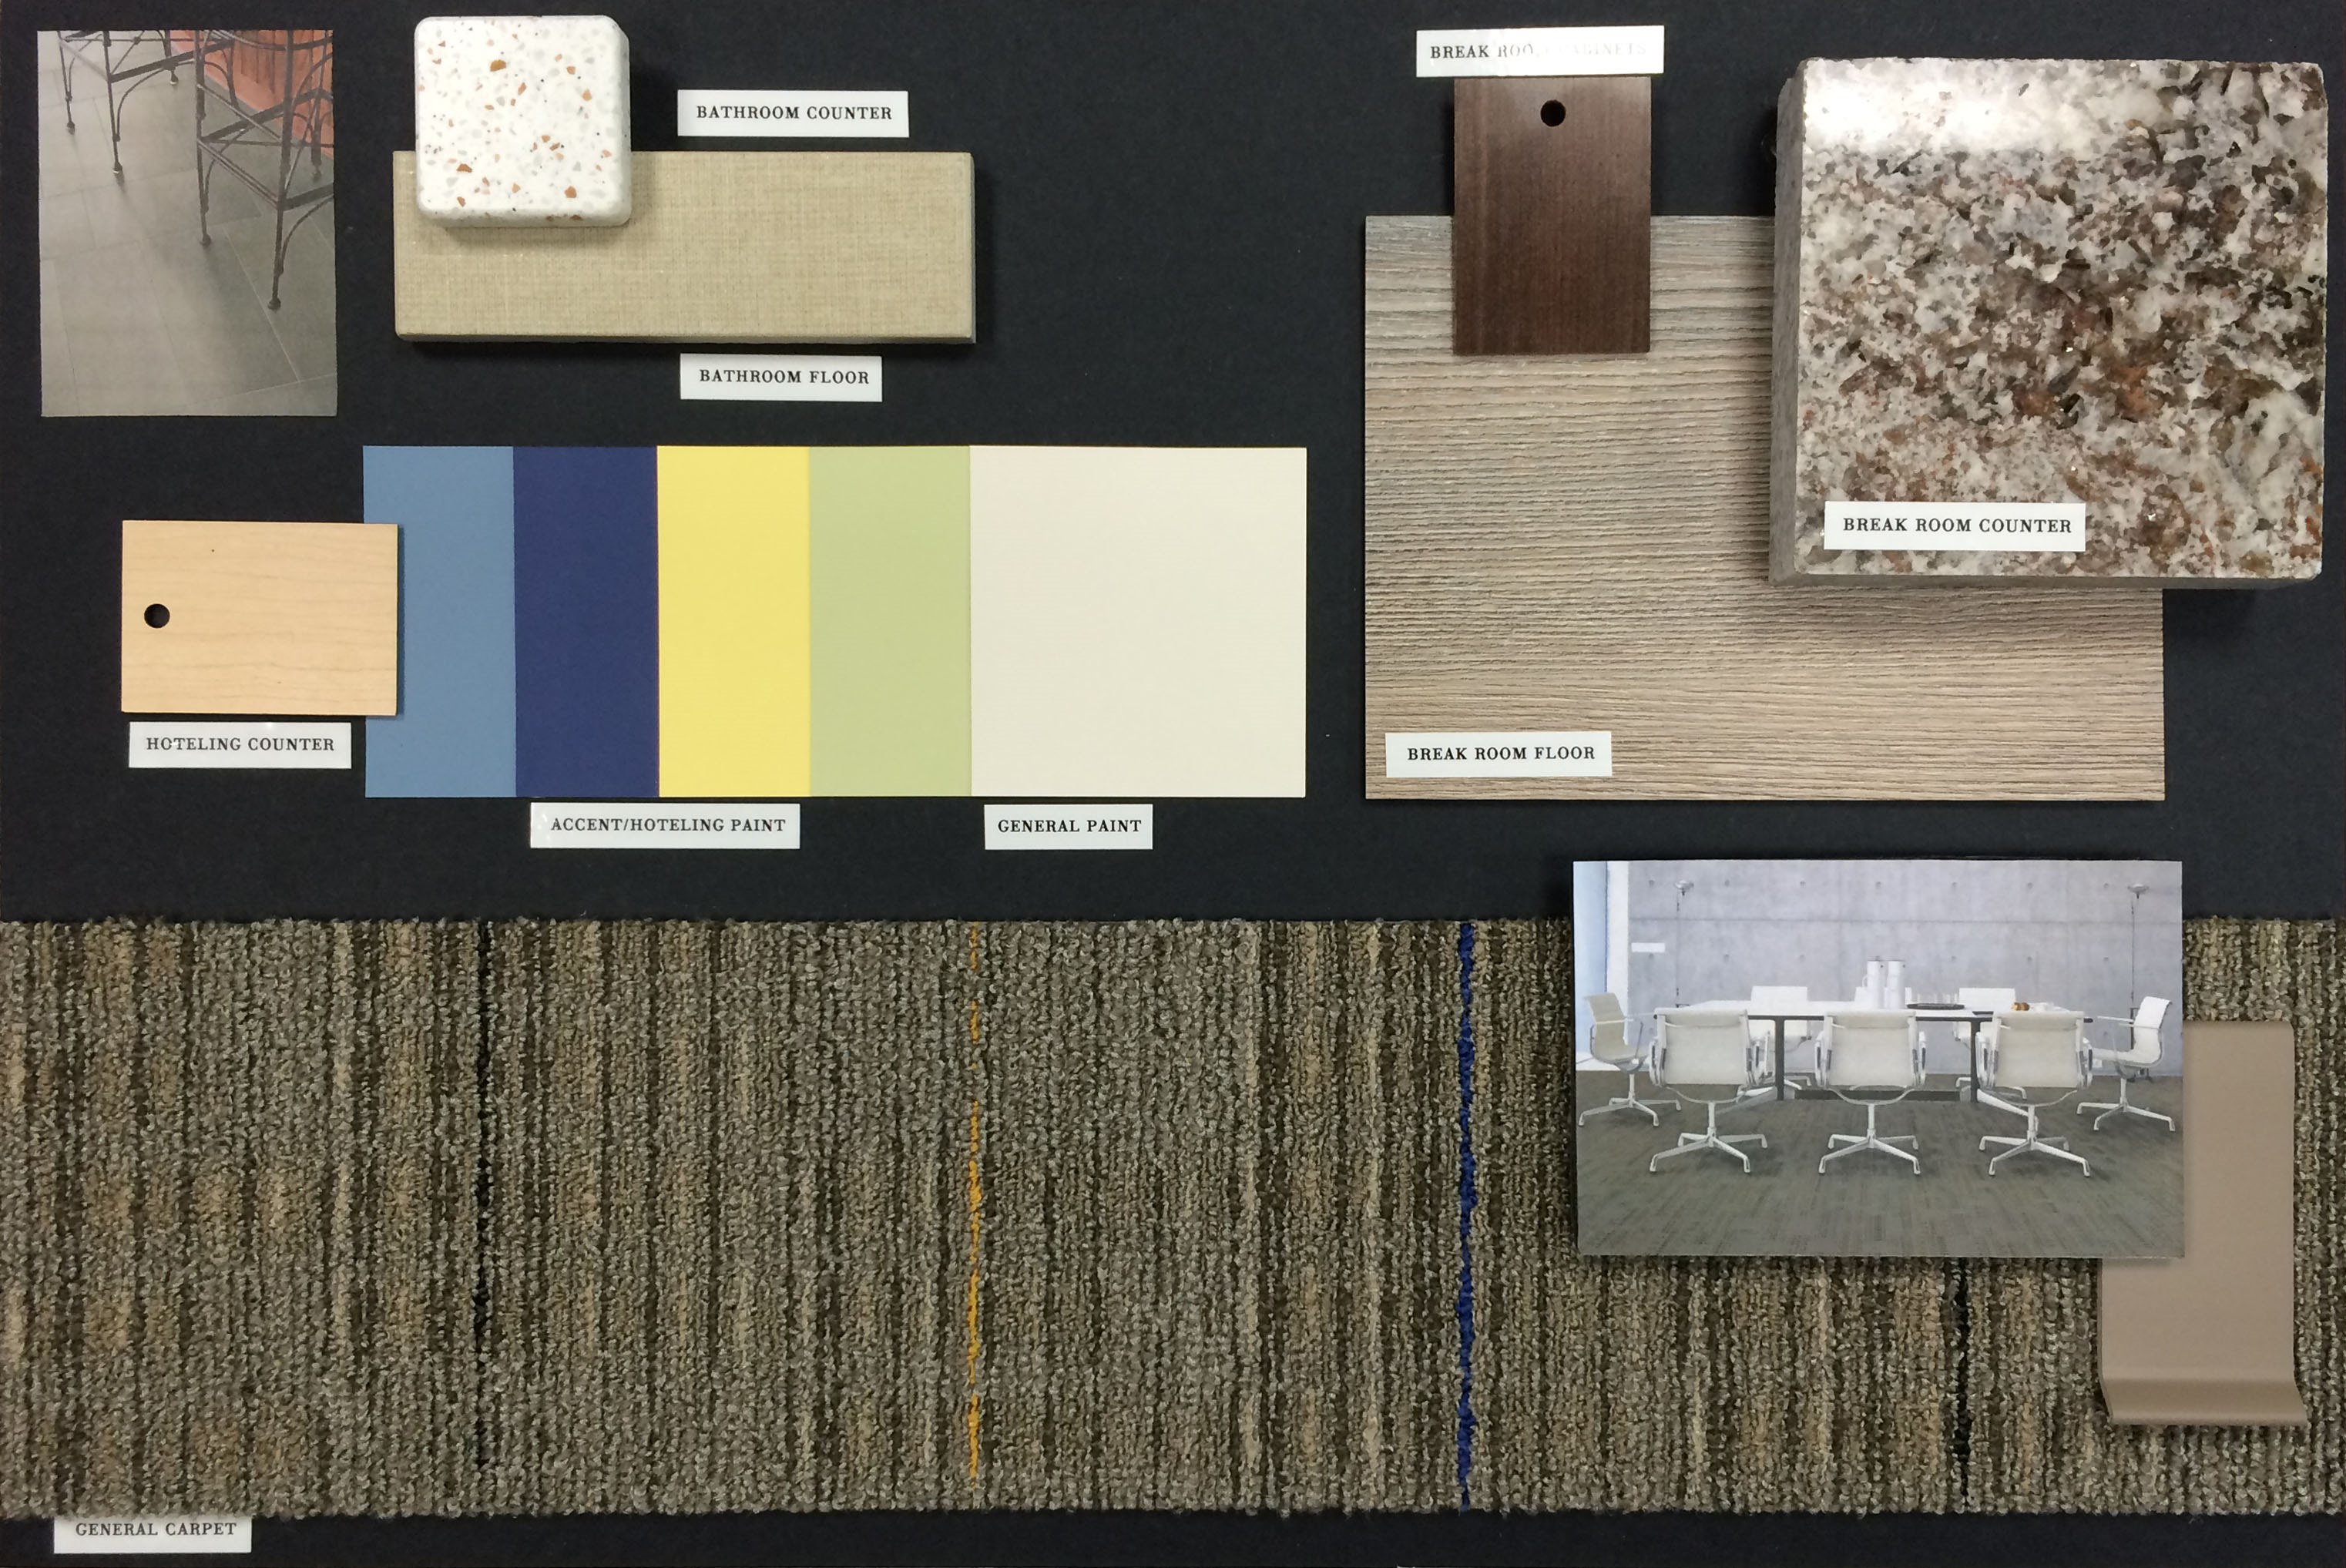 A sample board is a foam core board with actual physical samples used in the space tacked to it. Many clients use these in combination with drawings for showing final selections of Board members or teammates who weren’t involved in our meetings and to give other stakeholders an idea of what is coming soon. This post was inspired by my colleague snapping a picture with his phone of me standing on a chair to take a picture of a presentation board before giving it to the client.
On the plus side here, you have the actual sample of the materials to know how they will feel and the exact color that they are for the space. It’s also a little less time consuming so it can be done more quickly. On the down side, while we often label what materials will be located where, it may be hard to visualize how the space will look for some people. There’s usually only one copy as well. This is a good solution for more simple work and small spaces where 3D images are hard to create effectively.
 Renderings are the other option. Instead of mounting all the materials on a physical board of materials, the selected finishes are grafted into the space in a drawing. This can be done on a plan, an elevation of a wall, or a 3D drawing for the space. Before computer rendering this would be done by hand. Now it’s more often done in programs like SketchUp, 3DMax or Photoshop. With these programs digital images of materials can be uploaded and fit into their locations at the proper size. Shadows and light can be added with algorithms that will correctly interpret how light will bounce off different material types and reflect in the space. The result is a very strong impression of what the final space will look like. This is a great option for large projects, clients who have trouble with visualization, or who are spread out over large distances, since computer files can easily be shared.
The down sides are that these are generally more time consuming and therefore more costly to produce and the color may not be perfectly correct for what will be the final space, depending on printer, monitor, and other color corrections.
If you are the recipient of one of these tools, there’s a few things to keep in mind. First, this is a step that’s best taken when most decisions have been made or are very close to be final. Redrawing takes time and rendering multiple times is also time consuming. On the flip side, these tools are a snapshot in time and you still can make changes after they are delivered. Treat them like a final check that this is indeed what you want. Finally, enjoy your tool. These are definitely one of the fun take aways from working with design professionals.